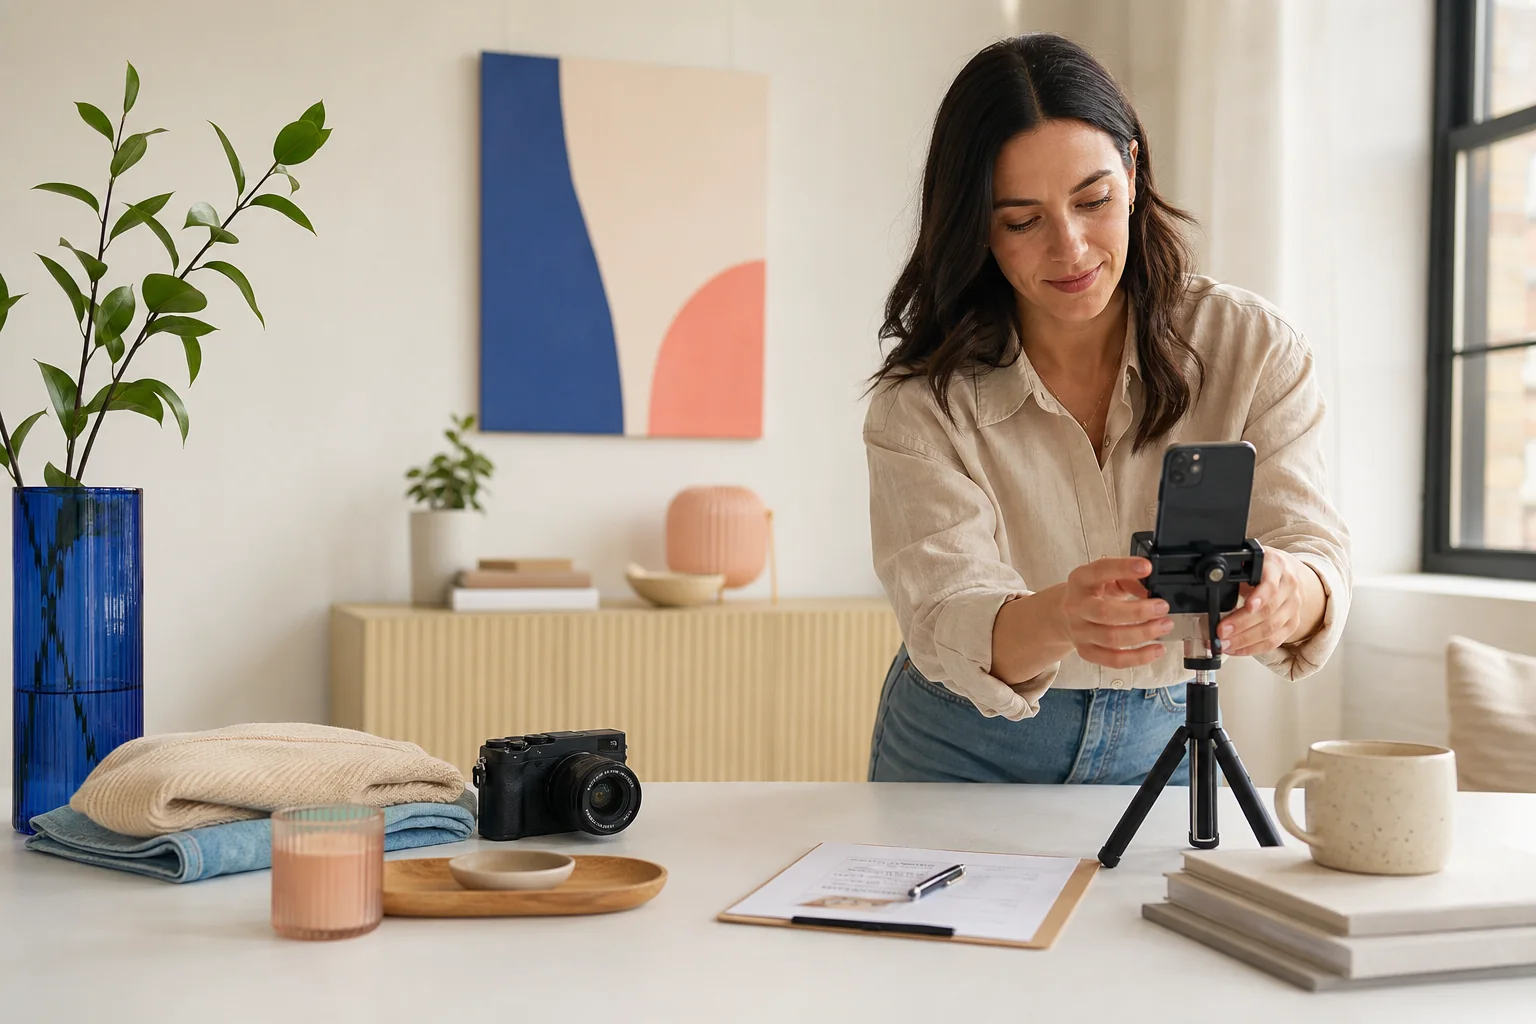
Decide what the month must do
Start with the work each post must perform. A long list of attractive shots still leaves a weak content calendar when every image says the same thing. Give the month four jobs before you choose an outfit or unfold a tripod.
The jobs should match the way people learn to trust an account. Some posts teach. Some show evidence. Some make the person behind the work familiar. Others invite a reply, a save, or a visit to a useful resource. The camera can support all four when the plan names them in advance.
- Teach: a tip, process, checklist, or short explanation.
- Show proof: a result, example, before-and-after sequence, or finished detail.
- Build familiarity: a portrait, working moment, opinion, or behind-the-scenes frame.
- Invite action: a question, prompt, download, event, article, or next step.
Build a nine-frame shot matrix
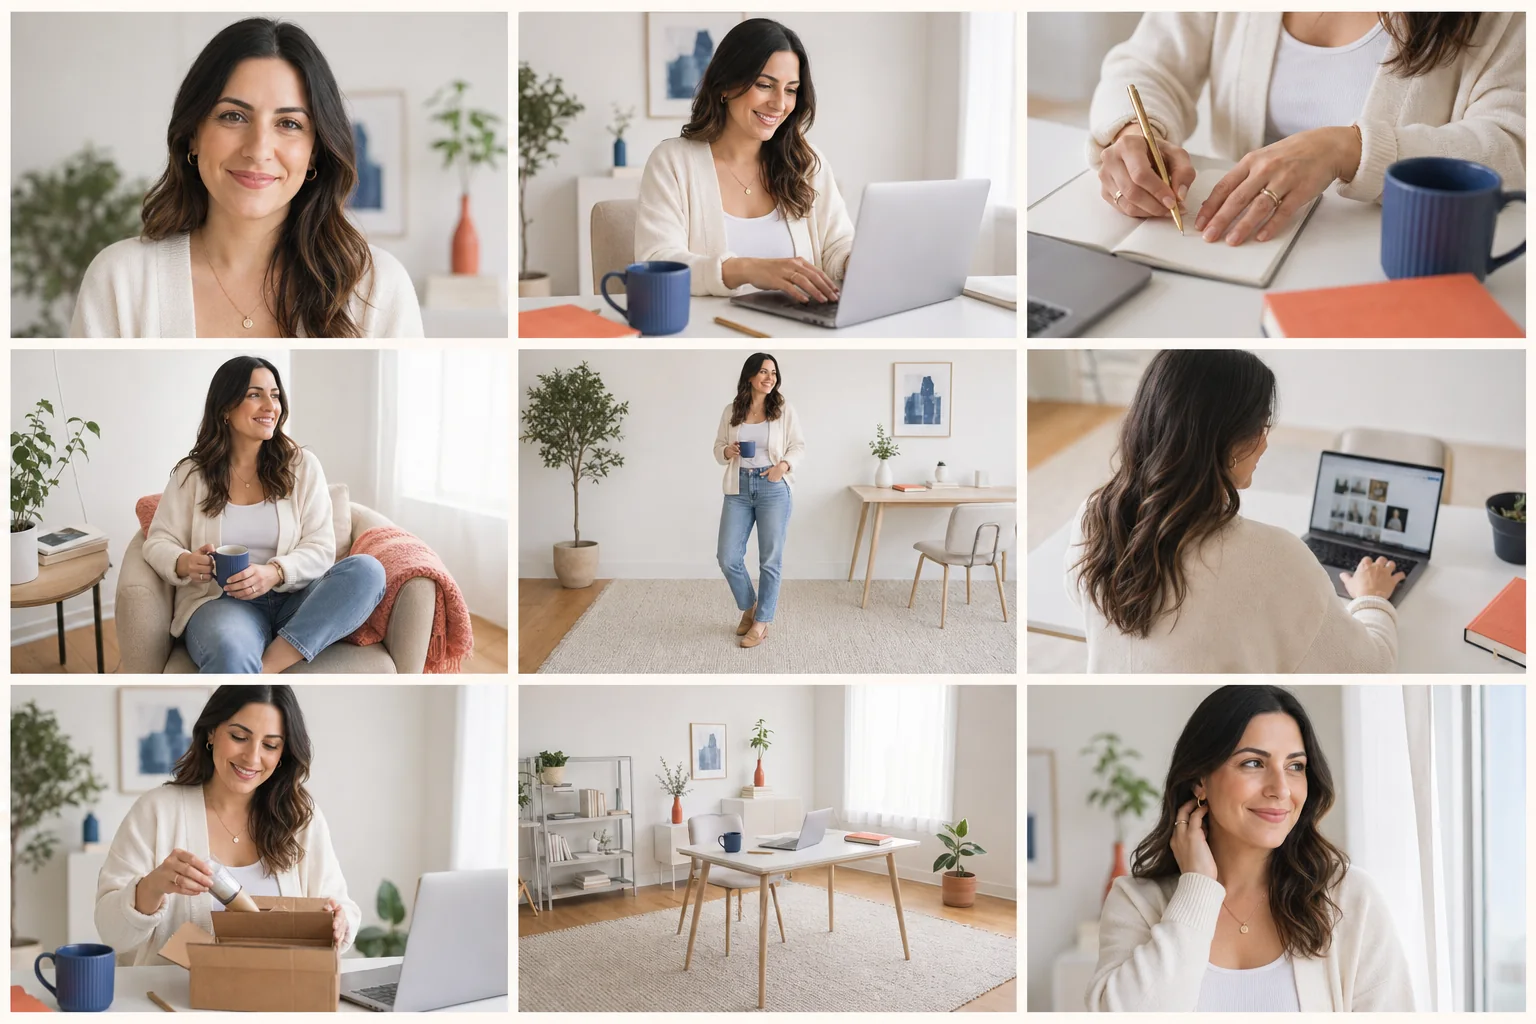
A shot matrix prevents the common batch-shoot mistake of taking fifty versions of one portrait. Draw a three-by-three grid. Use three content jobs down the side and three camera distances across the top: wide, medium, and detail. Each cell becomes a distinct photograph to capture.
A teaching post might use a wide frame of the full setup, a medium frame of you demonstrating the process, and a detail of the tool in your hands. A proof post might show the finished result, a close inspection, and the workspace that produced it. A familiarity post can move from a direct portrait to a candid working frame and a small personal detail.
Nine planned frames create genuine variety because the subject, distance, and purpose all change. They also expose gaps before the session begins. If every square contains a face looking at the lens, the matrix needs more action.
- Wide frames establish place and leave room for headlines or quotes.
- Medium frames show the person, action, and main prop together.
- Detail frames isolate hands, materials, screens, textures, or finished work.
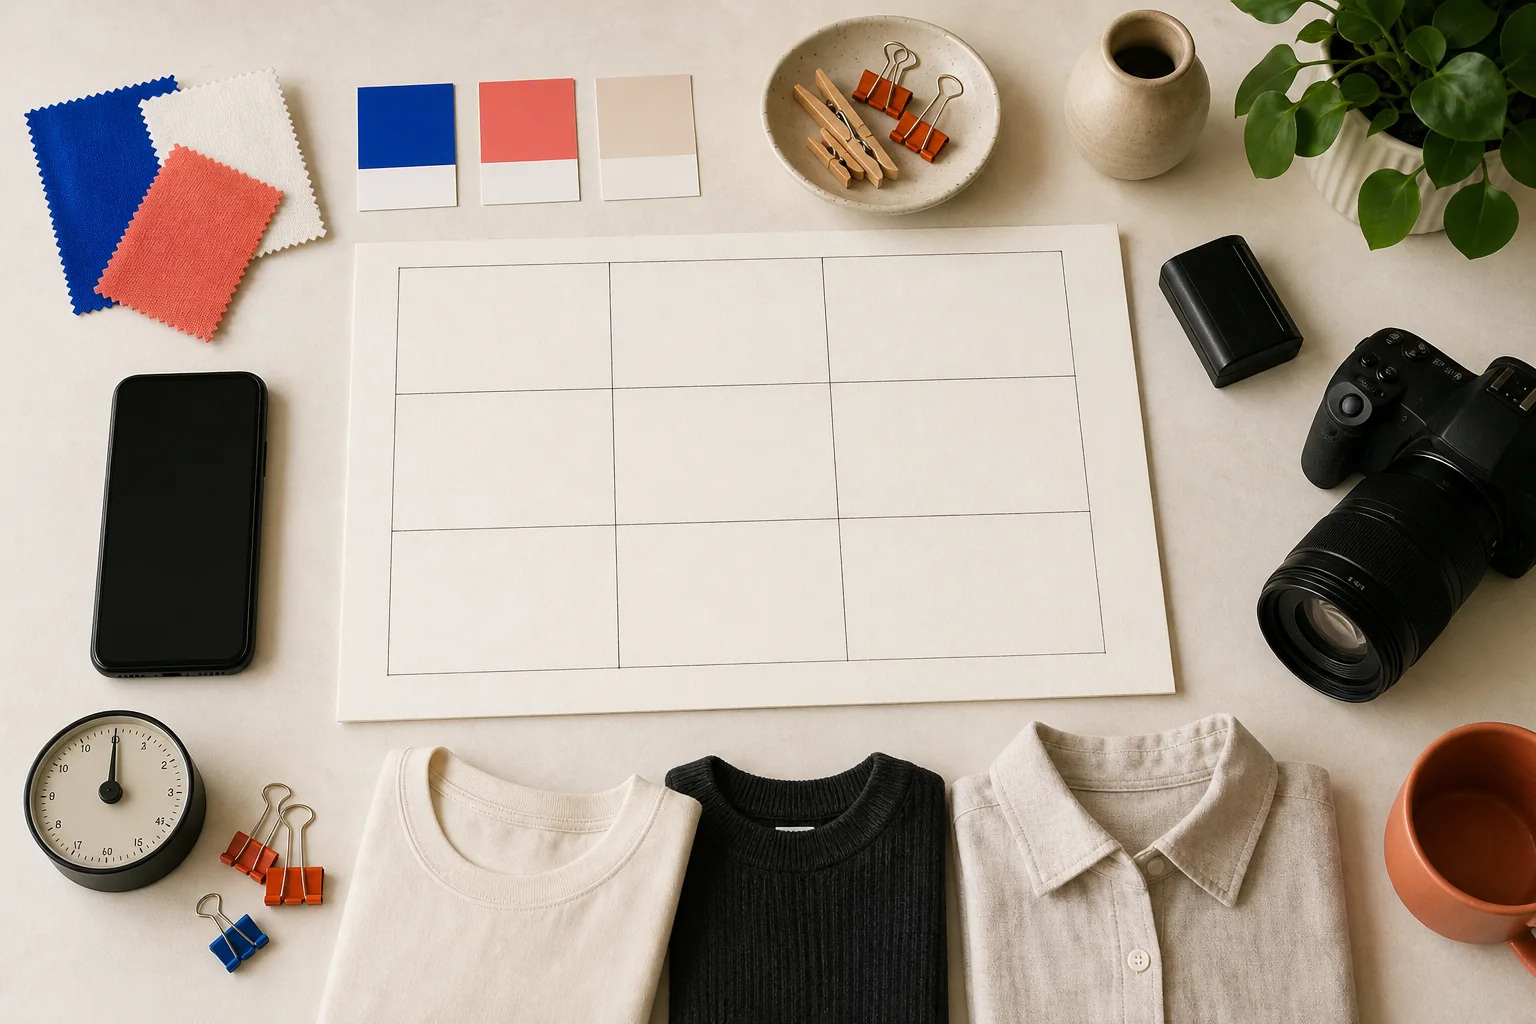
Pack a visual kit small enough to move quickly
Too many outfits consume the session. Use one clean base outfit and add two layers that change the outline: a jacket, overshirt, knit, scarf, or work apron. The base keeps skin tone and exposure consistent. The layers make adjacent posts feel as if they came from different moments.
Choose two props with a real connection to the work. A notebook, laptop, camera, sample, sketch, tool, book, or cup can give the hands a job. Decorative clutter slows the shoot and weakens the story. Every object in the frame should explain the person or the process.
- One base outfit in a solid, camera-friendly colour.
- Two layers with different shapes or textures.
- Two useful props and one optional personal object.
- A cloth for the lens, a charged battery, and enough storage space.
Prepare the room before the clock starts
Ninety minutes covers photography, not cleaning. Clear the background, charge devices, test the remote, mark the tripod position, and place each prop within reach before the session starts. Take one test frame and inspect the edges. Power cords, bright packaging, laundry, and half-visible furniture become harder to ignore once the images sit together.
Pick one main light direction. A large window is often enough. Stand at roughly forty-five degrees to it and turn the face until both eyes hold light. If the far side of the face falls too dark, move closer to a pale wall or place a white board outside the frame. Stable light makes the whole library easier to edit.
Follow a 90-minute run sheet
The schedule protects variety. Work from the most controlled frames toward movement, then finish with missing shots. Do not spend the first half hour chasing one perfect headshot. A strong batch contains several good families of images rather than a single flawless frame.
- Minutes 0–10: test exposure, framing, focus, and remote timing.
- Minutes 10–25: capture direct portraits in wide, medium, and close crops.
- Minutes 25–45: photograph the core work process with both props.
- Minutes 45–60: collect hands, materials, screens, and finished details.
- Minutes 60–75: add standing, walking, turning, and seated transitions.
- Minutes 75–85: record short vertical clips and clean cover frames.
- Minutes 85–90: check the matrix and fill only the missing cells.
Photograph each idea at three distances
Keep the action and change the frame. Begin wide enough to show the environment. Move to a medium view that holds the person and the action. Finish with a detail. This takes less time than inventing three new scenes and gives an editor the pieces needed for carousels, articles, thumbnails, and short video covers.
Change eye line as well. Capture one frame looking at the lens, one looking at the work, and one looking beyond the frame. The shift is small, yet it changes the implied conversation. Direct eye contact introduces. A downward gaze explains. An off-camera gaze leaves room for reflective copy.
Hold each pose loosely. Breathe out, move the hands, and shoot through the transition. The frame immediately before or after the formal pose often carries more life than the held position.
Add motion while each setup is live
Record short vertical clips before dismantling a setup. Five useful seconds are enough. Hold still for one second, perform one clear action, then hold again. Clean handles give you room to trim without cutting into the movement.
Use the same action you photographed: open the notebook, adjust the tripod, place the finished item, turn toward the window, or walk into the workspace. The motion belongs to the visual story, so it will cut naturally beside the still photographs.
Keep faces, captions, and important objects away from interface-heavy edges. Platform layouts change, but the centre remains the safest place for information that must survive a crop.
- One vertical establishing clip.
- Two medium action clips.
- Two close details with visible movement.
- One clean portrait frame for a cover image.
Turn the session into 30 distinct posts
Thirty posts do not require thirty unrelated scenes. They require thirty clear editorial uses. The count below gives every asset a job while leaving enough visual distance between similar frames.
Write the topic beside each selected image before editing. A photograph without a planned message tends to sit unused. A message with a named photograph moves directly into the calendar.
- 6 anchor portraits for introductions, opinions, announcements, and profile-led posts.
- 4 carousel stories built from wide, medium, and detail sequences.
- 5 process or detail posts that explain tools, steps, or materials.
- 6 spacious frames reserved for quotes, tips, or simple text overlays.
- 3 about-page, profile, or recurring biography images.
- 3 short clips or cover frames for vertical video.
- 3 behind-the-scenes posts about preparation, mistakes, or decisions.
Select like an editor
Make the first selection quickly. Remove missed focus, closed eyes, awkward hand shapes, repeated expressions, and frames that need heavy rescue. Then compare the survivors in groups. Keep the strongest image from each small run instead of storing six near-identical choices.
The second selection should judge the library as a whole. Check the mix of wide, medium, and detail frames. Check how often the subject looks at the lens. Check whether one outfit or background dominates. Replace repetition with the next-best frame from an underused group.
A useful final library can be smaller than the original target. Twenty-four distinct frames will serve a calendar better than thirty images that repeat the same crop and expression.
Edit for continuity, then crop by destination
Edit one reference image first. Set exposure, skin tone, white balance, and contrast, then apply that starting point across the session. Adjust individual frames only where the light or background changed. Consistent colour lets images from different parts of the session sit together without looking mechanical.
Keep a full-resolution master before making platform crops. A portrait feed image, a square thumbnail, and a wide article header may all come from the same frame. Starting from a tight export throws away those choices.
Inspect every crop at its final size. Hands, shoes, tools, and text space often disappear when a wide original enters a portrait frame. Move the crop rather than stretching the photograph.
Arrange the calendar around contrast
Do not publish the images in the order they were taken. Separate similar portraits and alternate visual weight. A close face can follow a wide workspace. A quiet detail can follow a busy process carousel. The feed gains rhythm even though the source session stays consistent.
Alternate the four content jobs as well. Several teaching posts in a row can feel like a manual. Several portraits can feel empty. A useful sequence moves between instruction, evidence, familiarity, and invitation.
- Avoid using the same outfit in consecutive posts.
- Leave at least two posts between near-identical backgrounds.
- Follow a direct portrait with a process, detail, or environmental frame.
- Reserve the strongest negative-space images for headlines that need room.
Keep a gap list and stop on time
The last five minutes belong to gaps, not improvisation. Read the matrix. If a needed detail or wide frame is missing, capture it. If the grid is complete, stop. Fatigue produces slower decisions, weaker posture, and more files to sort.
Keep the gap list after the session. It becomes the first page of the next shoot plan. Over time, the list reveals which assets your calendar consumes fastest: clean backgrounds, process details, direct portraits, or short clips. The next session can then solve a proven shortage.
Copy this pre-shoot checklist
- Name the four content jobs for the month.
- Complete a three-by-three shot matrix.
- Choose one base outfit, two layers, and two working props.
- Clear the background and test one fixed light direction.
- Charge the phone, camera, remote, and spare battery.
- Capture every main idea in wide, medium, and detail views.
- Record one short vertical action while each setup is live.
- Check the matrix during the final five minutes.
- Select for variety before editing for polish.
- Assign a topic to every chosen image before scheduling it.